Sign In
Close
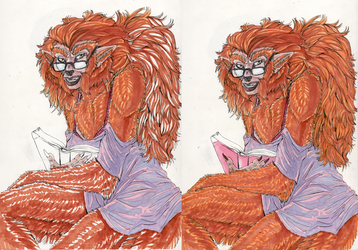

Steps 4: Shading. This is when I further define shading, usually using a blue marker to darken area. Avoid using black or grey shades, as actually shadow in the real world carry a color tint when you pay a close attention. Pure "black" shading is impossible in real life.
One of the best case in point example: snow, during the day, where shades is generally of a blue tint.
In any ways, this is when I start to feel a picture is really coming in together.
Steps 5: Second inking pass. This is where you can truly define, especially with the added definition of previous coloring and shading passes, the lines of your characters while correcting any minor inking mistakes done in the first inking pass. For this, I generally use a .5mm fineliner, which thanks to the thicker lines than the micron can hide or corect some of the more minor mistakes, while further defining the inking linework which, by then, will probably have begun to look be washed out under all those layers of colors and markers.
Step 6: Highlights. I use a white gelpen, which I uses to create lines to either further define the shapes of the characters, or add to the lighting. Be careful with this step(or any, since this is traditional media anyway) since unlike digital or graphite sketching, there is no way to really "undo" your mistakes.
(I highly reccomend buying gelpens from http://www.jetpens.com/ as it was reccomended to me as well by a friend, littletales.).](user: ).))
Submission Information
- Views:
- 296
- Comments:
- 0
- Favorites:
- 1
- Rating:
- General
- Category:
- Visual / Traditional